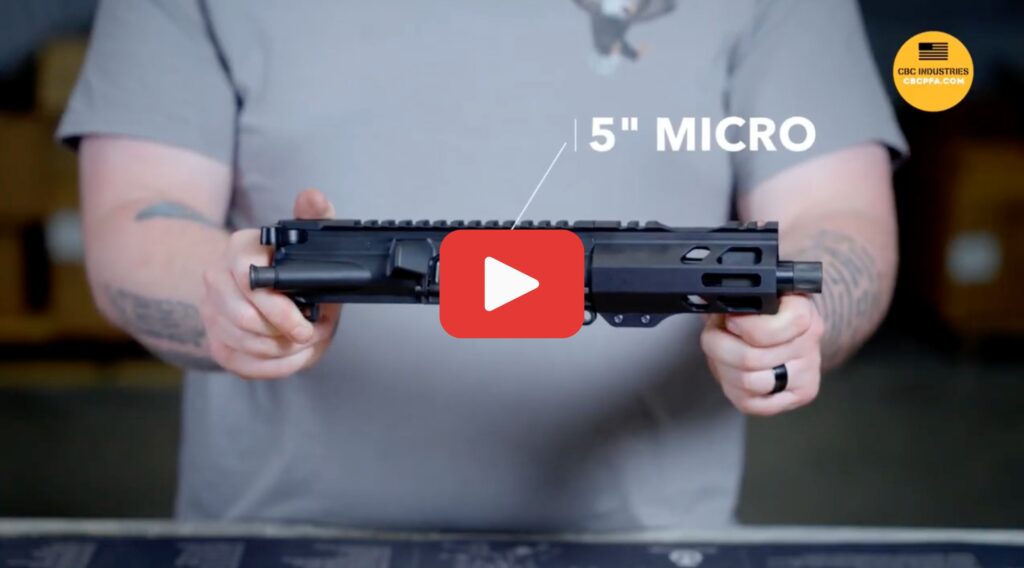
Assembling The 5.56 Micro Kit
Hey everyone, Mitchell here from CBC Industries. Today, I’m excited to walk you through the assembly of our 5.56 Micro Kits. These kits feature a 5.56 NATO barrel made from 4150 Chrome Moly steel, with a 1:5 twist rate and compatibility with a micro gas system, which is crucial for the build of an AR pistol. Let’s get started!
Step 1: Upper Receiver and Barrel
- Start with the Upper Receiver: Grab your upper receiver.
- Attach the Barrel: Locate the index pin on the 5.56 NATO barrel and align it with the notch on the upper receiver’s threads. Drop it into place.
- Thread the Barrel Nut: Hand-thread the barrel nut onto the receiver, ensuring it goes threads-down directly onto the barrel.
Ensure the barrel length is under 16 inches to comply with legal regulations and avoid classification as a Short Barreled Rifle (SBR).
Step 2: Torquing the Barrel Nut
- Use a Reaction Rod: Slide your upper receiver onto the reaction rod.
- Torque and Break Torque: Torque the barrel nut, then break the torque. Repeat this process two more times, torquing a third time to ensure it’s secure.
- Final Torque: Ensure the final torque is at 35 ft-lbs. The barrel nut is made from high-quality steel, ensuring durability and a secure fit.
Step 3: Installing the Gas Block
- Fit the Gas Block: Install your gas block. It might be a snug fit due to the finish on both the gas block and the barrel.
- Use a Teflon-Sided Hammer: Tap the gas block into place gently if needed, making sure it’s straight.
- Secure with Screws: Install the gas block screws to secure it.
Understanding the assembly process of the gas block is crucial for ensuring the proper function and reliability of your AR pistol.
Step 4: Adding the Thread Protector
- Thread Protector Installation: Fit the thread protector flush with the barrel.
Step 5: Installing the Rail
- Attach the Rail: Install your rail onto the upper receiver. The rail is secured using robust steel mounting hardware, ensuring a stable and secure fit.
- Secure with Screws: Tighten the rail screws to ensure everything is secure.
This setup provides a rock solid platform for your AR pistol, enhancing accuracy and performance.
Step 6: Adjusting the Gas Tube
- Unique Gas Tube Setup: The gas tube for the micro kits has a unique bend.
- Use a Punch and Rag: Place a punch on the back end of the gas tube. Lay the upper receiver flat, cover it with a rag or towel, and use your body weight to push down on the gas tube until it’s centered properly. This ensures the gas key on the bolt contacts it correctly without causing damage.
Step 7: Installing the Charging Handle and Bolt
- Insert the Charging Handle: Push the charging handle forward and ensure it latches. Test it a few times.
- Position the Cam Pin: Bring the cam pin forward by pulling on the bolt head. This allows it to slide into the upper receiver more easily. The bolt carrier group is a critical component, ensuring the smooth operation of your AR pistol.
- Install the Gas Key and Bolt: Drop the gas key onto the charging handle, slide it into the upper receiver, and push it forward until everything seats properly.
- Function Check: Grab the charging handle and perform a few function checks to ensure everything works correctly.
Each bolt carrier group undergoes magnetic particle inspection to guarantee superior performance and reliability.
And there you have it! Your 5.56 Micro Kit is now fully assembled and ready to go. For more products like this, visit our website at www.cbcpfa.com. Thanks for watching!
